Learn to grow microgreens at home, join Grow It Local +
Learn > How To
Home Composting
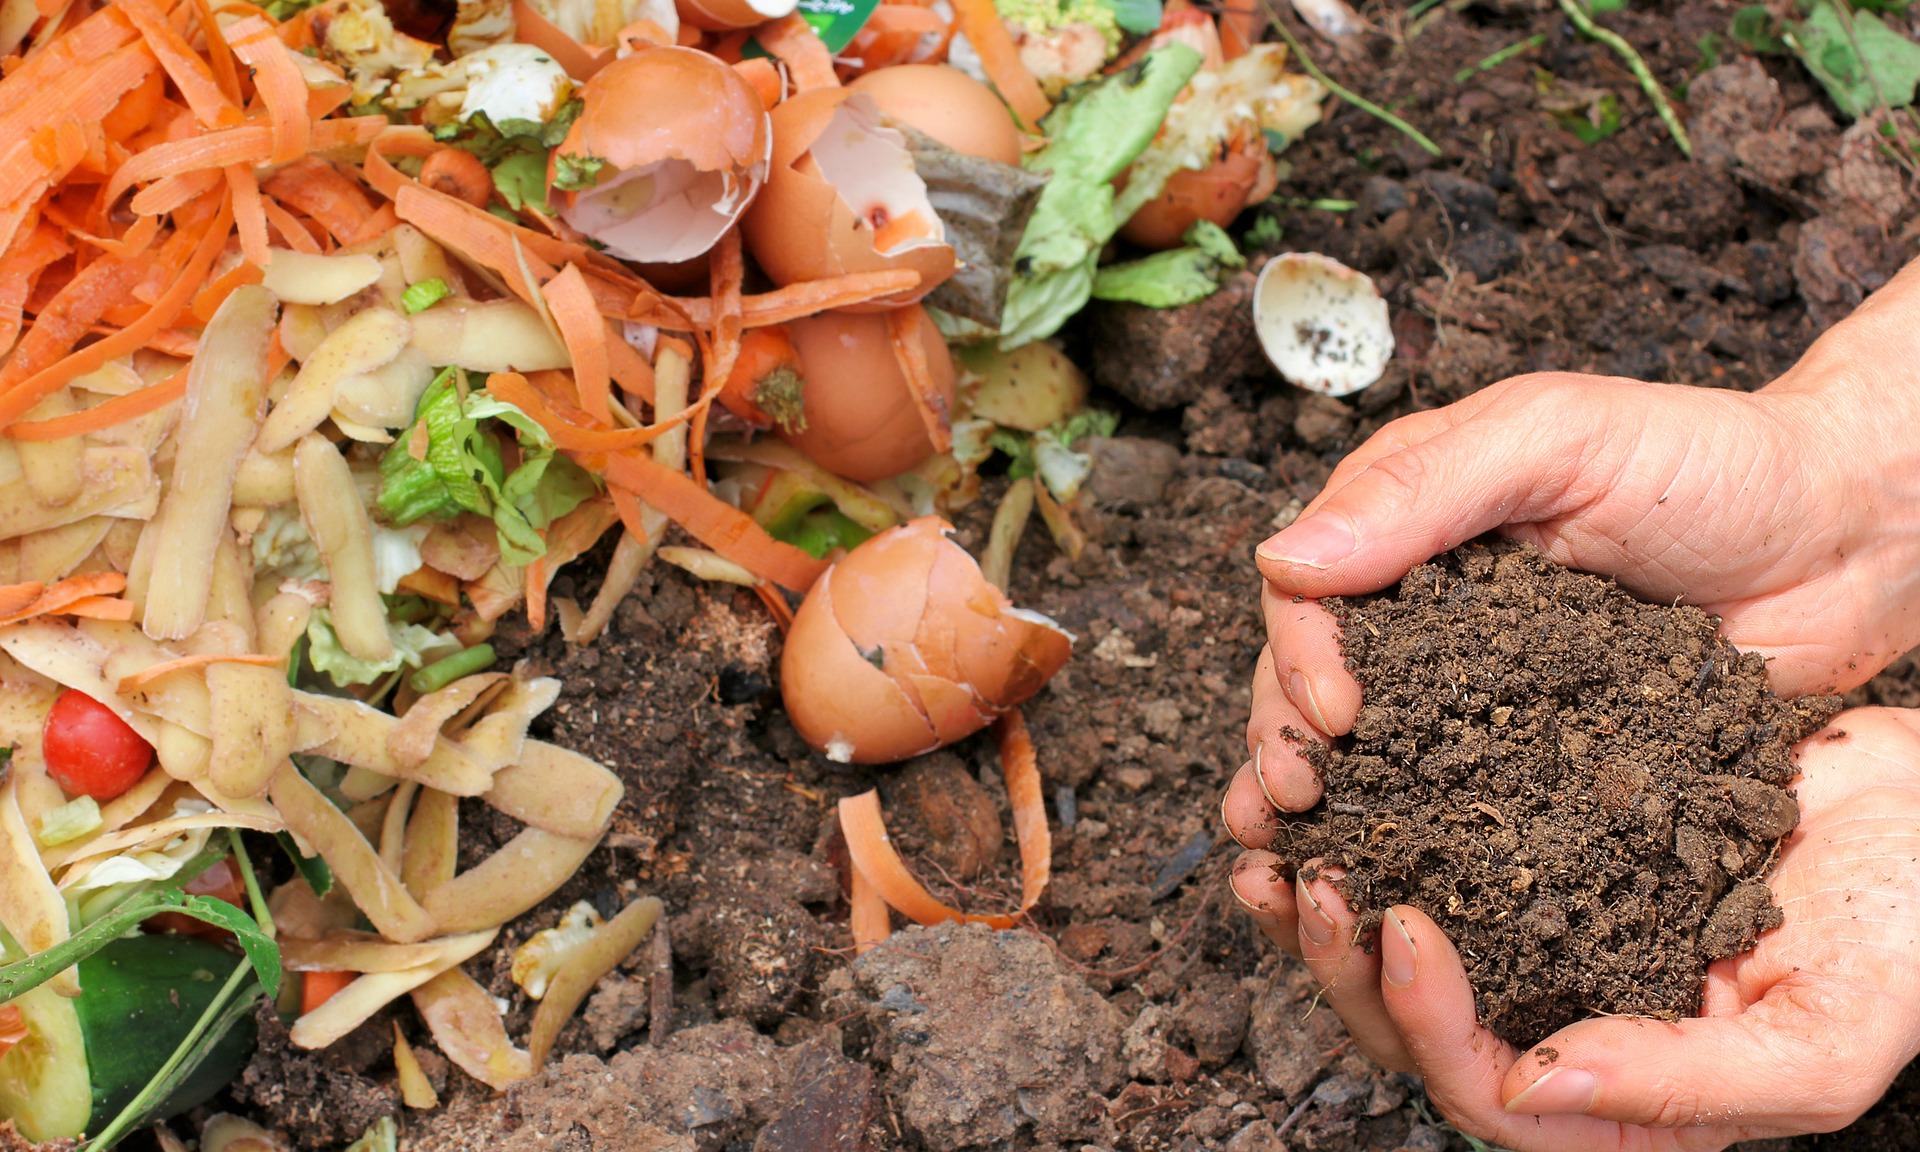
If you want a healthy, thriving food garden, then compost is your new best friend.
While you can buy compost from your local garden centre, nothing beats the stuff you can make at home. Now, if you are thinking that compost stinks, think again. Good compost will never smell. If it smells bad, you are doing it wrong. Good compost will smell like rich, healthy soil. Good compost will feed your soil and plants, will increase the water holding capacity of your soil and will make your plants so healthy you will have less issues with pests and diseases. Plants have an immune system and like humans, our immune systems are strengthened with good nutrition. That’s where compost comes in.
Read on to learn some hacks and tips to get you on the way to making compost so good your plants will be singing your praises.
The first thing to know is that organic matter, such as food scraps, decompose (break down) because millions of microorganisms munch away and eat them. These microorganisms are your invisible workforce, turning organic matter into gold for your garden.
So, the first and most important tip for composting at home, look after your microbes and give them a helping hand.
1. Small pieces – chop it up!
Chop kitchen and garden scraps up to increase their surface area. The greater the surface area, the more access points microbes have to get munching. This means that it’s best to avoid throwing in a whole apple or pumpkin that may have turned bad. You will need to chop them up first. As a guide, I would cut an apple into a minimum of quarters. As for a pumpkin, I would take it outside and use a shovel and give a 5 or 6 good chops. The more you chop it up, the quicker it will break down. This is also important for stems and woody material. A whole tomato plant will not breakdown easily. You need to get your secateurs out and chop it up!
2. A balance of ‘greens’ and ‘browns’
‘Green’ inputs are things higher in nitrogen and are mostly broken down by bacteria. This includes kitchen scraps, fresh garden clippings, hay, manures and coffee grounds.
‘Browns’ are things higher in carbon and are mostly broken down by microscopic fungi. This includes paper, cardboard, dead leaves, straw, bark and twigs.
A balance of greens and browns does many things for your compost. By feeding both bacteria and fungi, you will create a more beneficial compost full of all the microorganisms your soil and plants need. The brown inputs will generally help balance out the wetness of the green inputs and will also create important structure for air flow. I always start with a good amount of browns on the bottom of a new compost pile.
3. Diversity
The more diversity of things you feed your compost, the better your compost will be. Microbial diversity is one of the most important factors for healthy plants and soil. So, while you can make compost out of lawn clippings alone, going out of your way to find some different things to put in your compost will mean healthier, happier plants.
As I eat lots of different plants and drink too much coffee, my compost is always being fed a diversity of ‘green’ inputs. However, I have to go out of my way to find a diversity of ‘brown’ inputs. So, I head out into my local area with my rake and collect up dead leaves and twigs from underneath trees and combine that with some woodchips my arborist friend gave to me along with ripped up scrap paper and cardboard. I keep this in a tub next to my compost bin and add some of the ‘brown’ mix every time I add my kitchen scraps.
An expert tip is to add in a small amount of soil and finished compost when starting a new pile as they will both add more diversity of microorganisms into your compost. I also add biochar as I have a friend who makes it.

4. You can’t compost that!
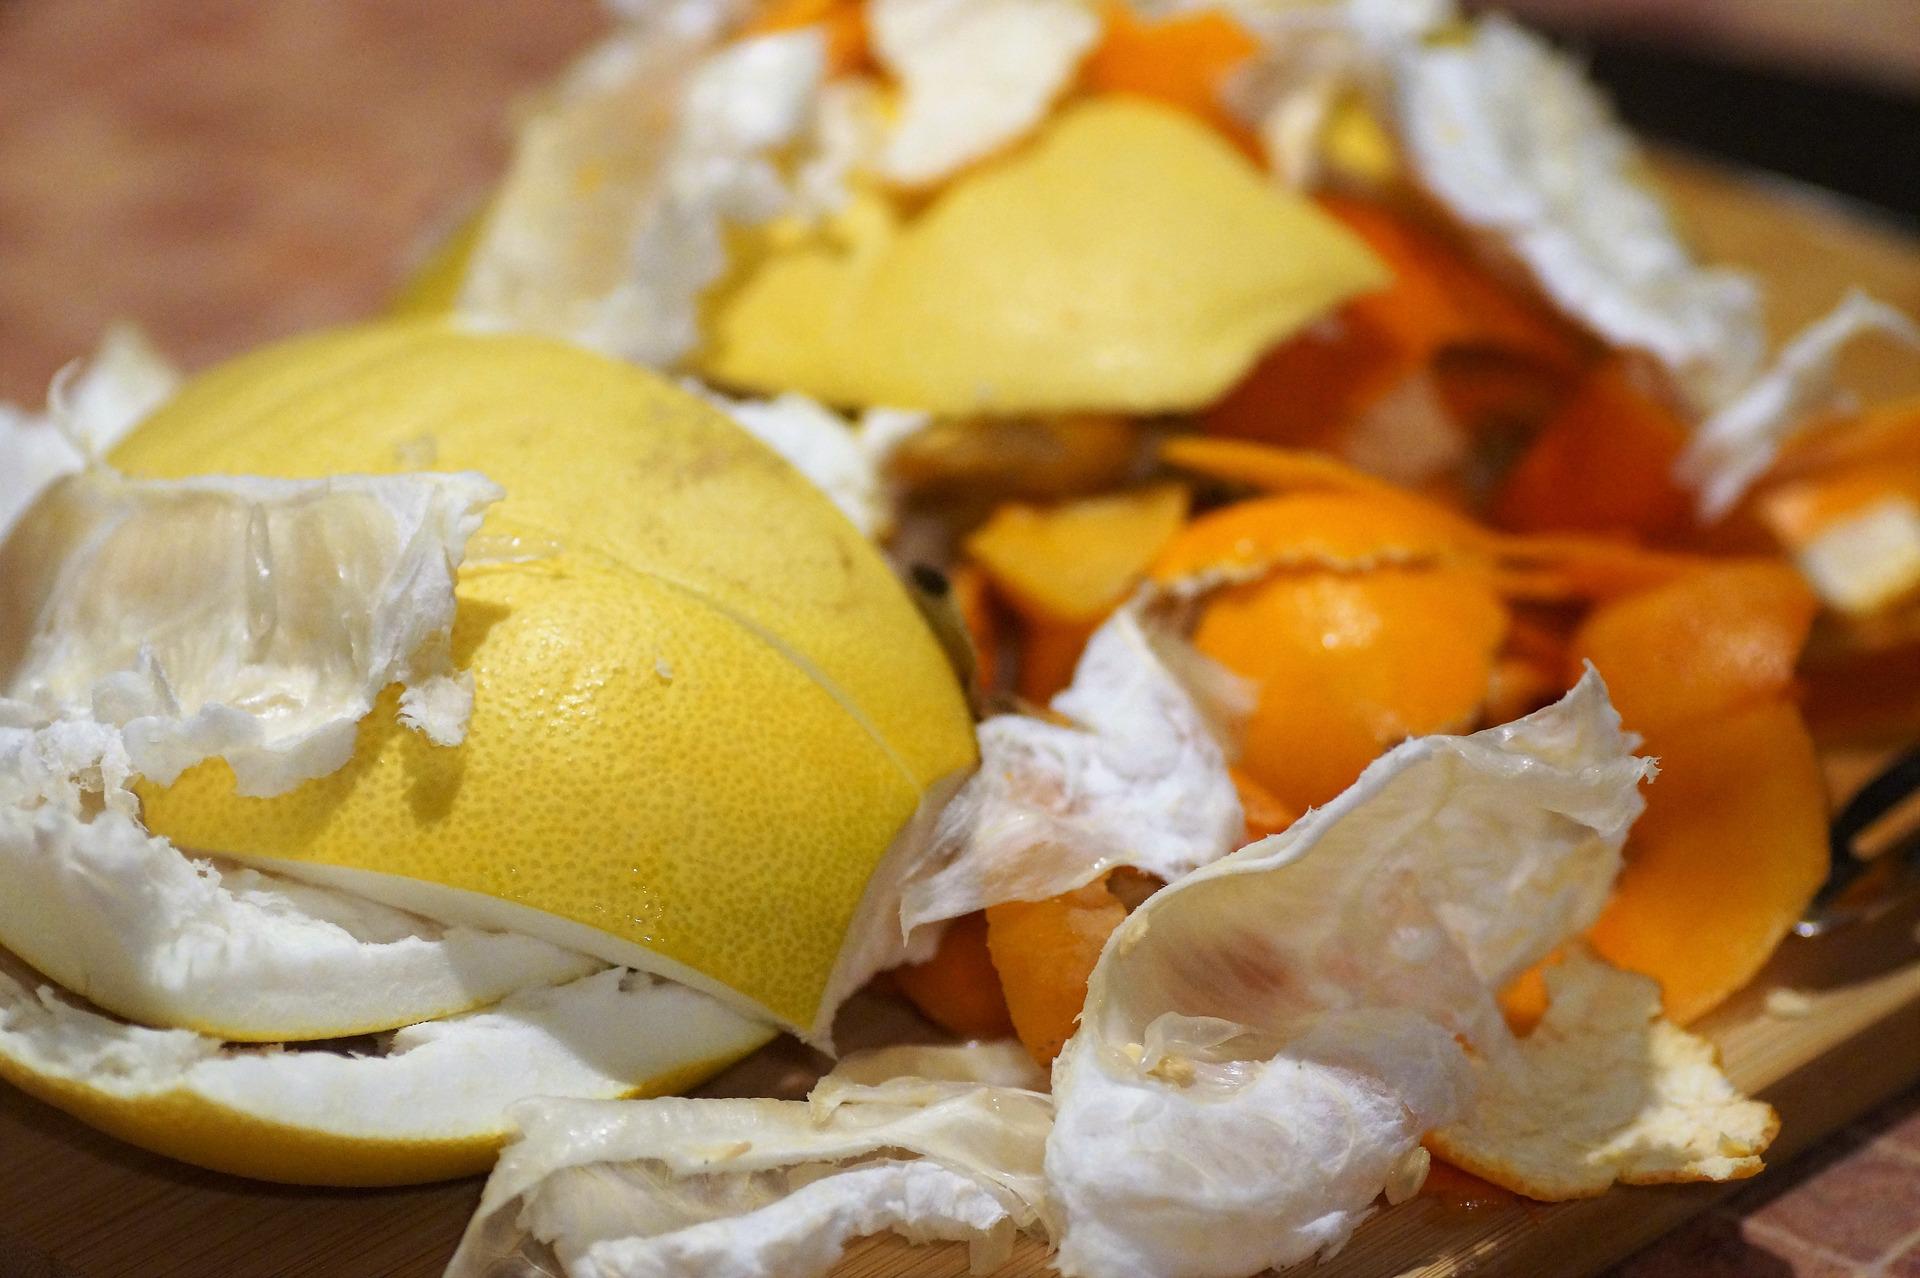
You may have heard that you can’t compost citrus, onion skins and eggshells. Well, you can. The issue is, they take much longer to break down than everything else. I follow the rule of thumb that a little bit and not a lot is fine. I slice citrus peel up into thin bits to help it along and crush eggshells into tiny pieces. Other skins that need to be sliced thinly are avocado skins and watermelon peel. If you don’t, it just means that when everything else in your compost has broken down and is ready to use, you will find these things still sitting there. Its not a big deal as you can pick them out and add to your new compost bin.
Things that I do avoid are things like avocado or peach pips, and corn cobs. Again, these will eventually break down but they will take a long long time. I could cut up the corn cobs, but I really just don’t have the time and energy.
I would also avoid meat and dairy. These are compostable, but best left to the commercial composters as you will have increased trouble with rats and flies. If you eat meat and dairy and really want to compost these at home, check out bokashi composting which is great for these foods.
I’m lucky where I live, we have a council collected green waste service every 2 weeks, which accepts anything organic, so I put everything that I don’t want to put in my home compost in there. This includes greasy pizza boxes, dog poo, my dog’s bones, corn cobs and anything I don’t have the time to chop up properly. Commercial composters make HUGE piles which heat up to very high temperatures, killing all pathogens and making easy work of pips, skins and bones.
5. Water
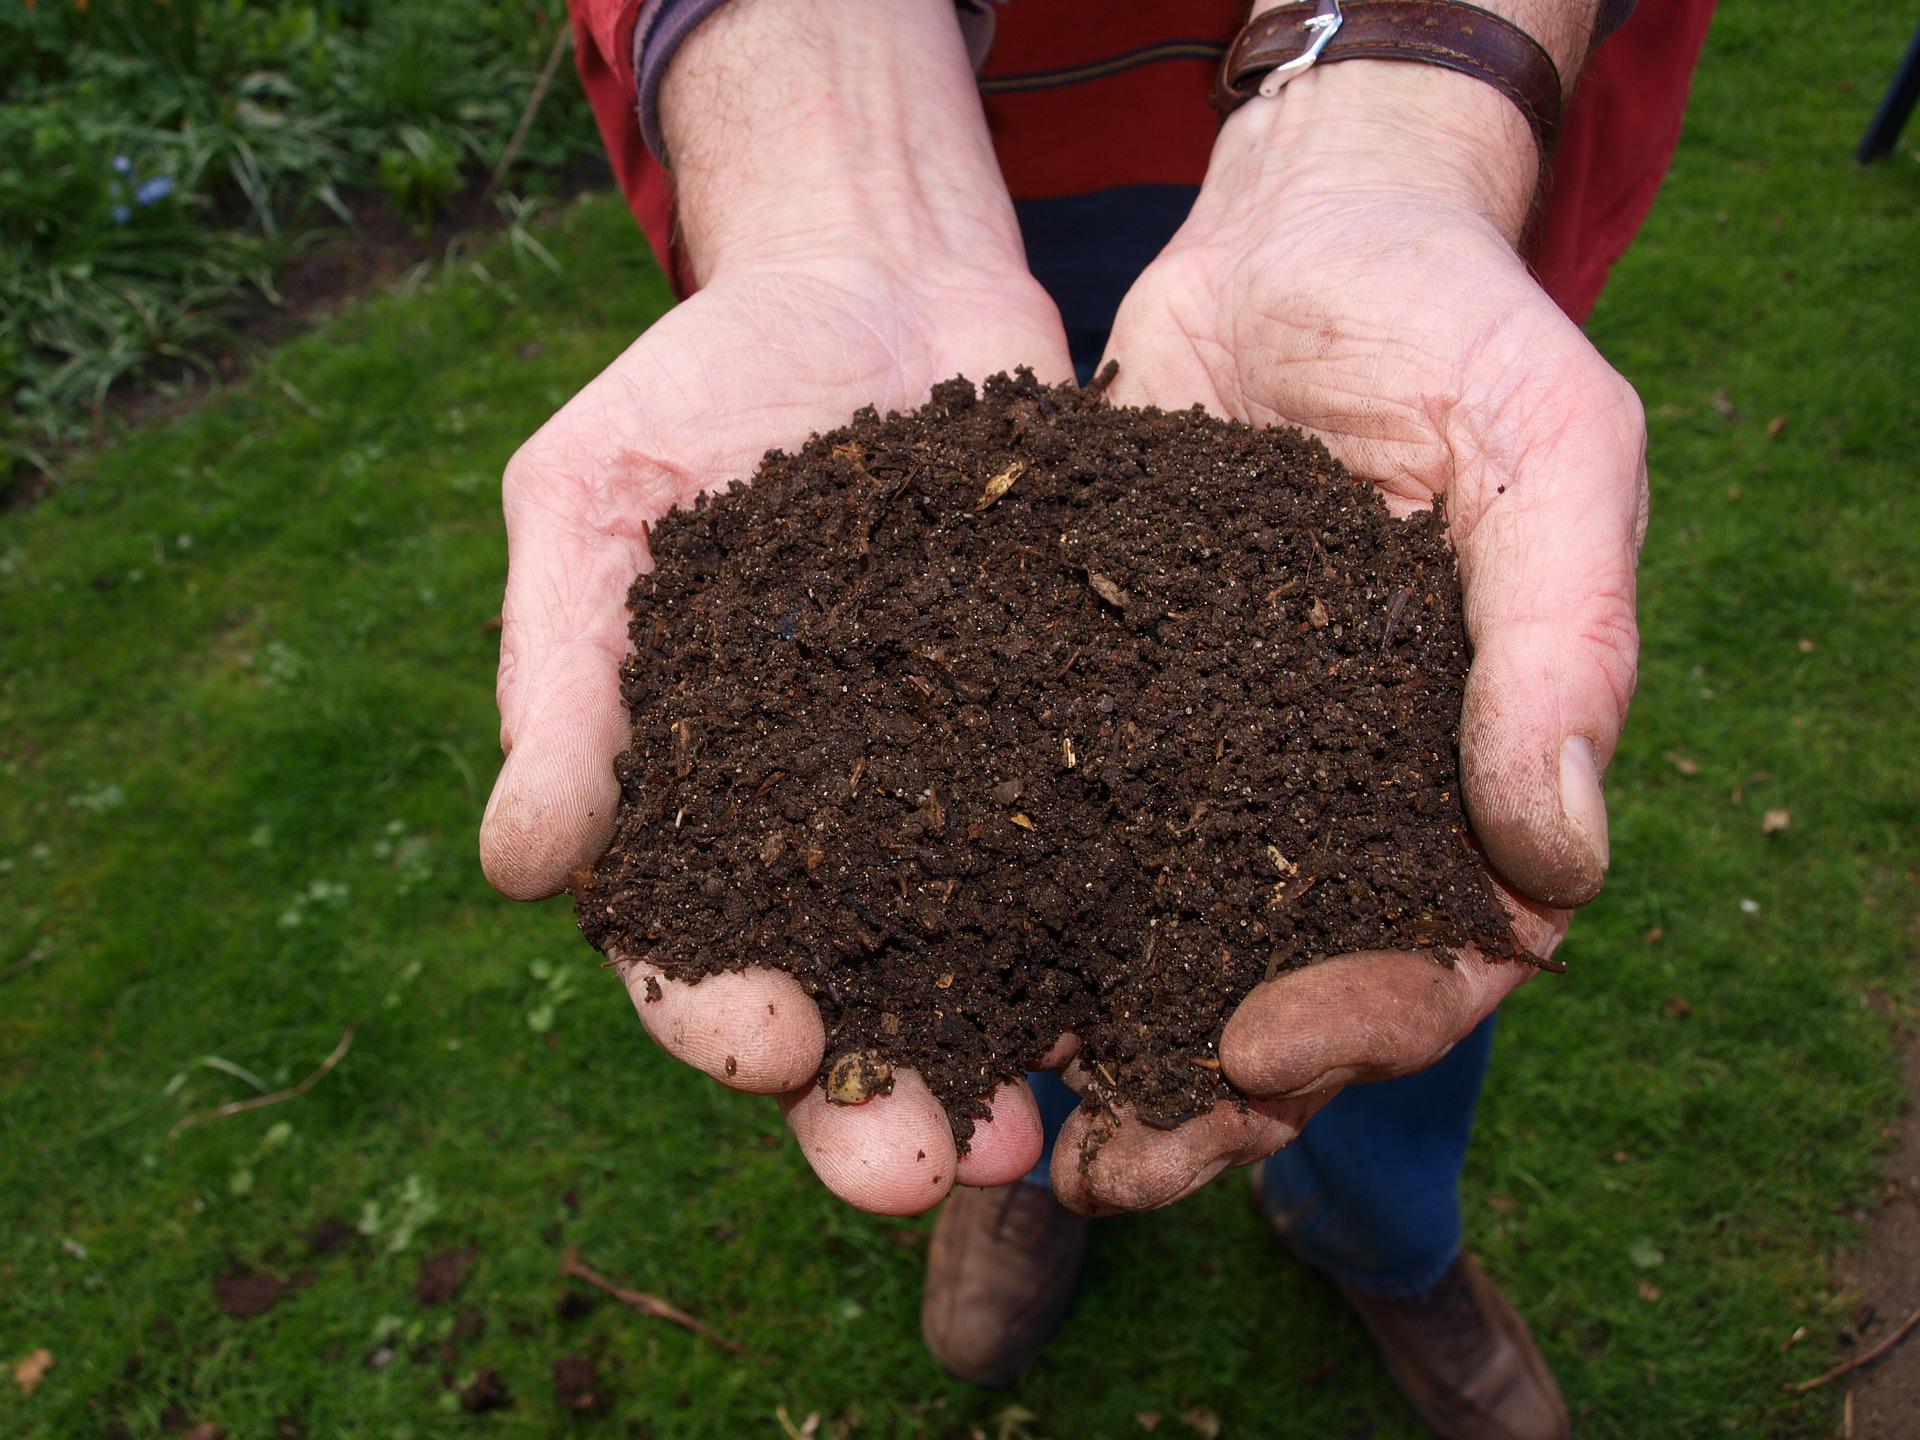
The microorganisms in your compost need water to survive and thrive. If your compost dries out, your microbes will go dormant or die, and nothing will break down. Keep your compost moist but not sopping wet. Ideal moisture levels are when you can grab a handful of compost, squeeze hard, and see some drops form between your knuckles but not enough that it drips down your hand. I water my compost from time to time to keep the moisture just right.
6. Turning
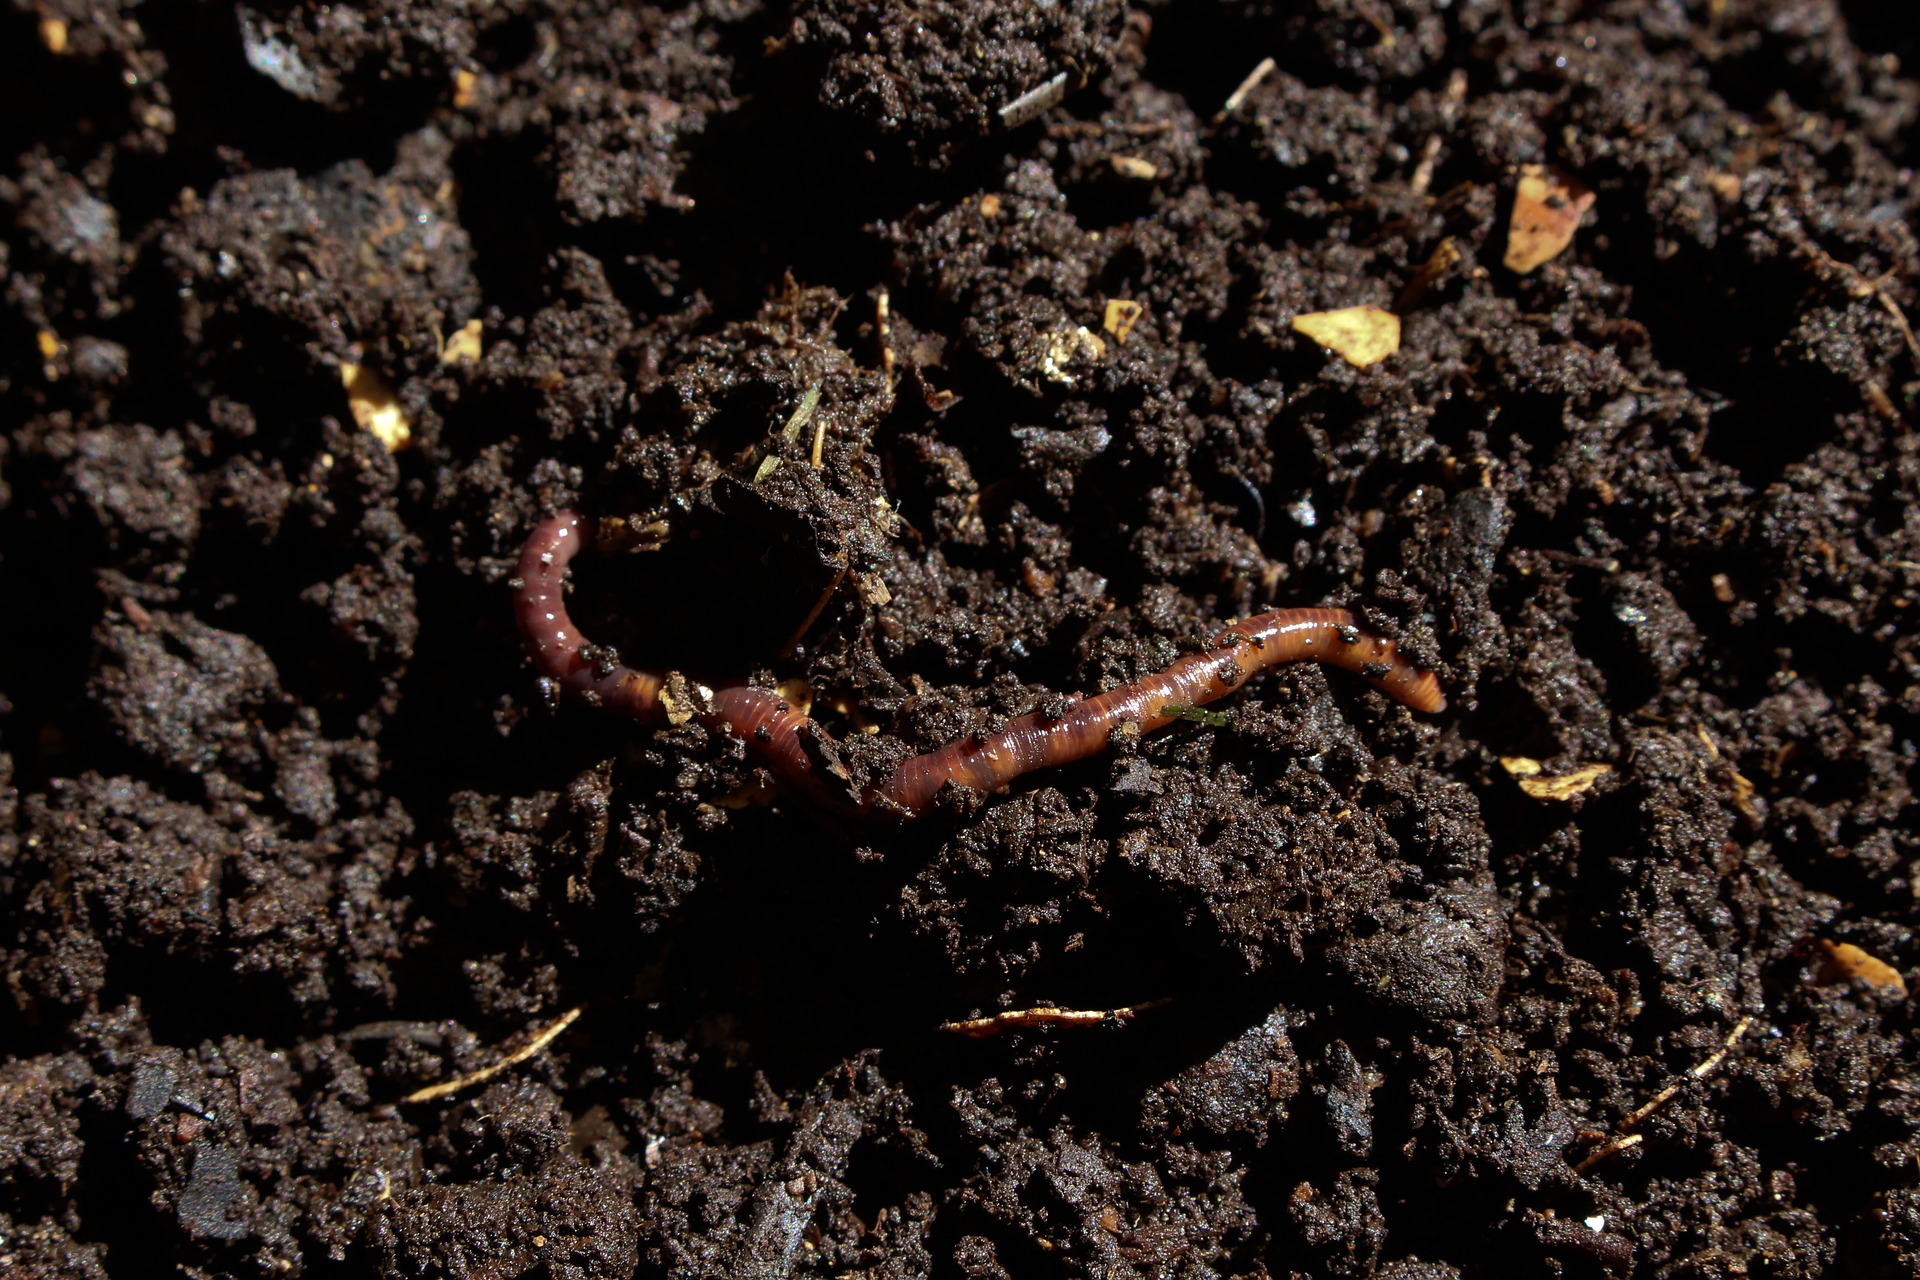
Turning your compost is important for lots of reasons. Firstly, it helps keep your oxygen loving microbes alive and happy. There are different types of microorganisms. Some need oxygen to live while others don’t. Good compost is full of oxygen loving microbes. The microbes that live without oxygen are the ones that create all the bad smells. Think about a container that has been left out and forgotten about and the smell you get when you open it. Yuck! So, if your compost smells, it means there isn’t enough oxygen and you need to turn it more.
Turning your pile will also help everything to breakdown much quicker. When you turn, you will help mix the fresh scraps in and cover them with the beautiful dark brown compost which has already formed at the bottom of your pile, and which is absolutely teeming with hungry microbes.
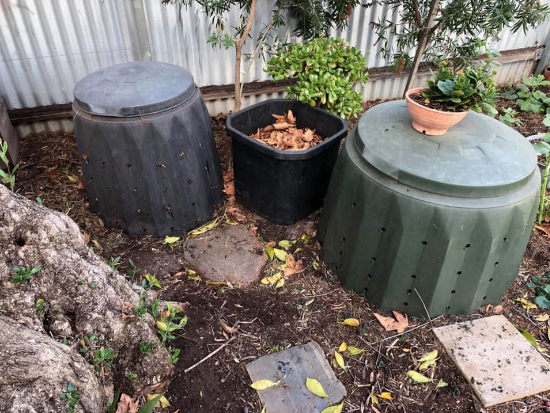
I am a big fan of the standard, round, hard-plastic compost bins that are open at the bottom. They are great, the worms can come up and get in on the action, making your compost the best that it can be. To turn the compost, you will need a compost turner. It’s like a giant corkscrew that you twist down into the pile and then lift up, bringing everything from the bottom up to the top and mixing it all in the process. As long as you have followed step one ‘chop it up’, you will find your compost is easy to turn.
Finally, turning your pile is the easiest way to see if you have enough moisture and to say hello to your worms. I aim to turn my pile every week or two, but sometimes, if I’m honest, I forget and its closer to every 3 or 4 weeks.
You can create a compost pile without ever turning, but you will need to work harder to ensure good diversity, structure/airflow and moisture all the way through. Personally, turning is well worth the effort for all the above reasons.
7. Rest
Good compost takes time to mature. At some point you will need rest your compost and stop adding new things to it. Having at least two compost bins will help with this. Once one bin getting full, leave it to rest while you start the next one. Once that bin is full, the first bin will be ready to use in your garden. I like to leave my compost for at least 3 months to mature from when I last added something new to the bin. Make sure you keep an eye on the moisture, especially in summer and give it some water from time to time if it needs.
8. Feeding your plants
Once your compost has had time to mature and is ready to use, it should be a beautiful dark brown colour and you shouldn’t recognise anything except for some hard to breakdown things (like woodchips, some skins, eggshells etc). Some people like to sift their compost, personally, I don’t mind if a few things that haven’t completely broken-down end up in my garden bed.
I use my compost in different ways. I mix some in with potting mix when potting plants or use in my seed raising mix too. If I have established plants, I put some on the soil surface around the base of the plants and cover with a mulch like pea straw so it doesn’t dry out. Be careful not to put right up against the stem of your plant as not all plants will like that.
The most common way compost is used is when preparing the soil to plant new plants. Depending on what you are starting with you might go about this in different ways. I like to put a handful of compost in the root zone when planting out my seedlings, or I work a whole heap into a new garden bed before planting out.
Summary
- I like to drill some air holes in my compost bin to increase oxygen if it doesn’t already have some.
- When starting off a new compost bin, start with a good amount of browns/carbon rich inputs and create a layer on the bottom to create airflow and structure for your new pile.
- Add in some mature compost from a previous compost pile (if you have some) or some healthy soil or store-bought compost – this will add some good biology and help your compost to hit the ground running.
- Collect diverse ‘browns’ (carbon rich inputs) and keep next to your compost bin. This will make it easy to add browns each time you add kitchen scraps to keep your ‘greens’ and ‘browns’ in good balance.
- Spread your kitchen scrapes and browns in a layer – don’t just dump in a pile in the middle.
- Turn your compost regularly – once a fortnight is good. Your compost will break down quicker as the new inputs are mixed with the mature compost.
- Avoid adding too much of any one thing. I saw someone add in so much shredded paper once it filled half their compost bin. Shredded paper on its own, is not going to break down well. The magic of compost really happens when there are lots of different things all coming into contact with each other.
- Manage moisture – as you turn your pile, pay attention to the moisture level. Does it look dry? Is it too wet? Feel it. You may need to water it or add some more browns if it’s too wet. Don’t let it dry out but also don’t drown your microbes.
- Two compost bins are ideal so one can be resting/maturing while the other is being filled.
On a side note, in case you are wondering, no, you don’t need to buy worms or add them to your compost, they will naturally come. But please don’t add worms to those compost tumblers, they really don’t like it!
This article was written by Green Adelaide for International Compost Awareness Week 2022


